Photo guides
How to take good beach photos of yourself
Bright sand, a hard horizon and the sun in your eyes. Beaches are harder to photograph than they look, and each problem has a simple fix.
The short version
- Shoot in the morning or late afternoon, not at midday.
- Put the sun to your side, not behind the camera in your eyes or behind you.
- Keep the horizon level, and below your shoulders rather than through your neck.
- Full body: feet near the bottom with some sand under them.
- Tap your face on the screen if the bright sky makes you go dark.
Pick the time of day
Midday sun on a beach comes from almost straight above. It's harsh, it bounces off the sand, and it makes everyone squint. In the first couple of hours after sunrise and the last couple before sunset, the light comes in low and soft, the colours are warmer, and the beach is often emptier too.
If midday is the only option, look for shade from a palm, umbrella or beach bar, or face away from the sun and let it light your hair from behind.
Put the sun to your side
Where the sun sits decides most of the photo. With the sun behind the person taking the photo, it's in your eyes and you'll squint. With it directly behind you, the phone exposes for the bright sky and sea, and you turn into a silhouette. Turn so the sun is off to one side of you. You get light on your face without staring into it.
If you do want the sun behind you, for a sunset for example, tap your face on the screen before taking the photo. The iPhone sets its exposure for whatever you tap, so you stay visible against the sky.
Get the horizon right
The horizon is the one straight line in a beach photo, so a tilt shows instantly. Turn on Level (Settings, Camera, Level) and the phone shows a line that turns yellow when it's straight.
Also watch where the horizon crosses you. A line running straight through your neck or the top of your head is distracting. Lowering the phone a little moves the horizon down your body, to around your waist, which usually looks better.
Choose the framing
The beach gives you three framings that work well. Decide which one before the phone changes hands.
- Full body: the top of your head near the upper grid line, your feet near the bottom with a strip of sand underneath. Good for showing an outfit and the whole beach.
- Waist up: closer, with more sea and sky behind you. Good when the beach is busy and you want fewer people in the shot.
- Seated on the sand: you sitting or leaning back, placed to one side, with the water filling the rest. Off centre works especially well here.

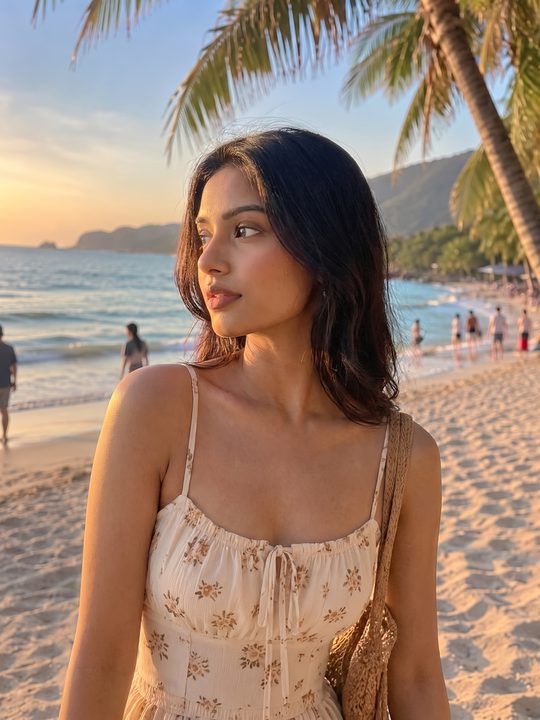

Full body, waist up, and seated on the sand. Each one leaves plenty of sea and sky around you.
Use the water's edge
Wet sand near the waterline reflects the sky and gives you a clean, bright foreground. Standing where the last of a wave has just run out works well for full body shots. Ask for several photos as the water comes in, since the timing is hard to call.
Look after the phone
Wipe the lens before you start. Sunscreen and salt spray leave a haze that softens every photo, and it's easy to miss on a small screen. Keep the phone out of the sand between shots, and be careful handing it over near the water.
On your own?
Quiet beaches often have nobody to ask. Prop the phone upright on your bag at about your waist height, stand about two metres away, and use the 10 second timer. The full setup is in how to take full body pictures of yourself.
Hand over the framing, not a speech
On a beach, the person taking your photo is usually squinting at a bright screen. Explaining where the horizon and your feet should go is hard to follow.
With Goodside, you choose the framing first: one of the beach framings from the library of 127, a shot type, or a beach photo of your own. They see two marks on the screen, "Top of head" and where the photo ends, and line you up with them.