Photo guides
How to take good photos at dinner and in restaurants
The seated dinner photo has a simple layout that works almost every time. Most people just never hear what it is.
The short version
- Frame it in thirds: room above you, you in the middle, the table and food at the bottom.
- The table edge runs across the lower part of the photo.
- Phone a little above table height, pointing straight at you, not down.
- Take the seat facing the window, or facing the softest light in the room.
- No flash. Take a few quickly, ideally when the food arrives.
Dinner photos usually go wrong in one of two ways. Either the phone is held high and pointed down, so the photo is mostly tablecloth with a face at the top, or the shot is so tight that you can't tell where you are. Both have the same fix: a seated framing that gives the room, you and the table a share of the photo each.
Frame it in thirds
Turn on the grid (Settings, Camera, Grid) and picture the photo in three horizontal bands.
- The top third is the room behind you: the lights, the bar, the window, the plants. It's what tells people where you were.
- The middle third is you, with the top of your head near the upper grid line.
- The bottom third is the table: the edge running across the photo, with the plates and glasses in front of you.
The table edge is the landmark that holds it together. Tell whoever is taking the photo, "top of my head on the top line, table edge along the bottom", and most of the work is done.
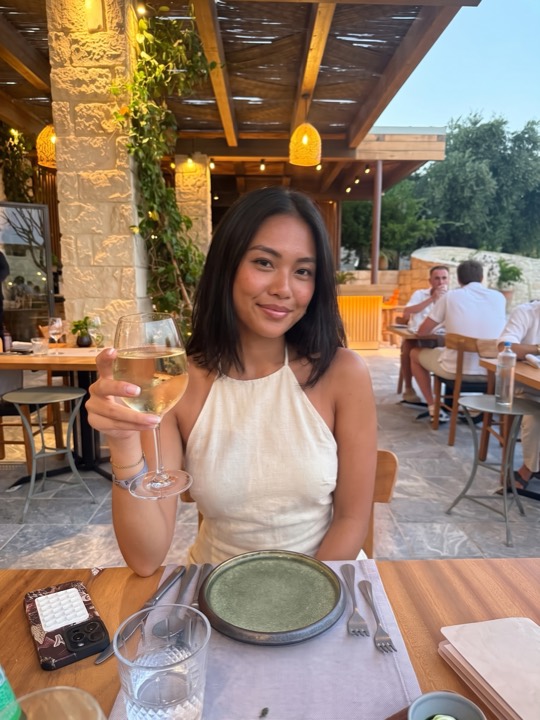
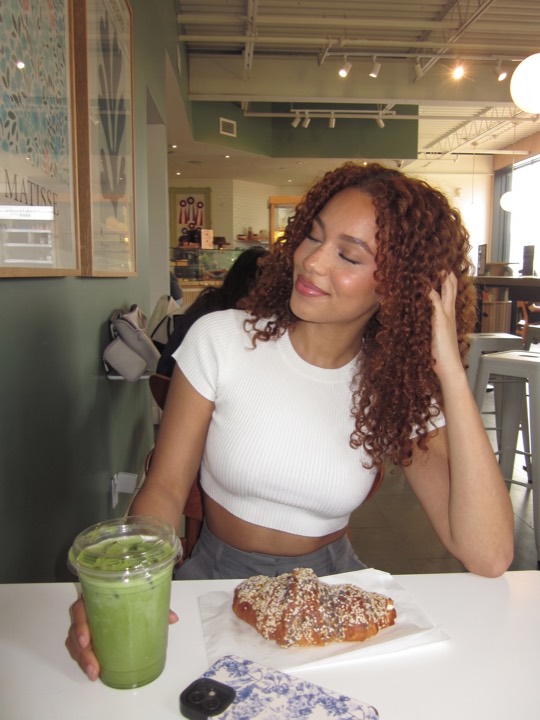
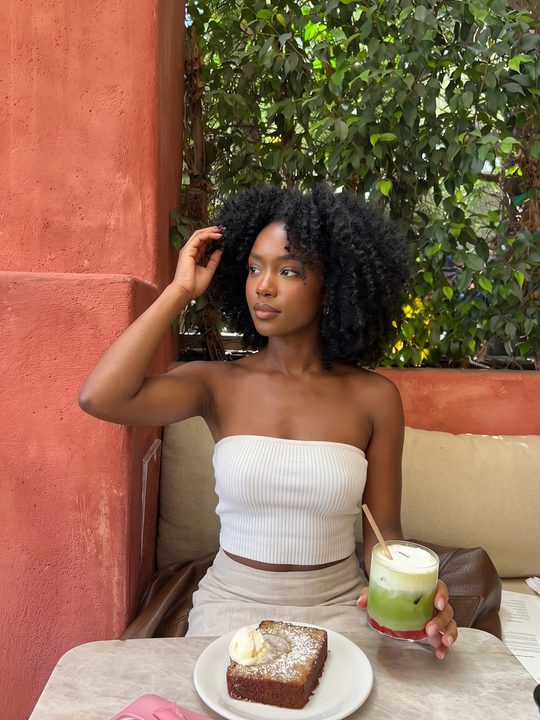
Room above, you in the middle, the table along the bottom. You don't have to be dead centre.
Where the phone should be
The person across the table should hold the phone a little above the table, around the height of your chest, pointing straight at you. Held at their own eye level and tilted down, the phone fills the photo with tablecloth and loses the room behind you.
Sitting directly opposite works best. If they have to stand, ask them to lower the phone rather than shooting from above. Keep it upright, and check the level line (turn on Level in the same Settings screen as the grid) so the room doesn't lean.
Pick your seat for the light
Light makes the biggest difference indoors, and it's decided when you sit down. If you can, take the seat facing the window, so daylight falls on your face. At night, face the softest light in the room, like candles, lamps or a lit bar, rather than sitting under a single bright downlight, which casts shadows under your eyes.
Sitting with a bright window behind you makes the phone expose for the window, so you go dark. If that's the only seat, tap your face on the screen before taking the photo. The iPhone will brighten the exposure for you.
Clear the table, a little
Move phones, keys, receipts and crumpled napkins out of the bottom of the frame before the photo. Leave the food, drinks and anything that makes the table look like a meal. The best moment is usually right after the food arrives, before anyone has started eating.
Be quick and quiet
Restaurants are shared spaces. Keep the flash off, which also makes for a better photo, take a few shots quickly rather than a long session, and don't stand on chairs or lean into the next table's space. A good seated shot takes about thirty seconds when the person taking it knows what to aim for.
Off centre works too
You don't have to sit in the middle of the photo. Placing yourself on one of the vertical grid lines, with more of the room or table on the other side, often looks more natural, especially at a corner table or by a window.
When the person across the table needs help
Explaining all this across a busy table is hard, and they can't see the layout you're picturing.
Goodside's Seated framing puts it on their screen: a mark for the top of your head, and a mark for the table edge. Hand your phone across, they line you up with the two marks and tap. You can also choose one of the cafe and restaurant framings from the library of 127, or use a dinner photo of your own as the reference.